|
Tessellation is the arrangement and movement of different things making a continuous pattern. I created the tessellation's by first making a blank layer that is 8x8 then I opened the image first cropping it then sizing it 4x4 then with the others 2x2 and 1x1, on the black layer I used rulers by going view - new guide and making guide at each 1in. With the 4x4 I put them put the image on the first square then duplicating it and flipping it horizontal after I did the same with the bottom 2 this time flipping them vertical. Then I changed the brightness and contrast.
0 Comments
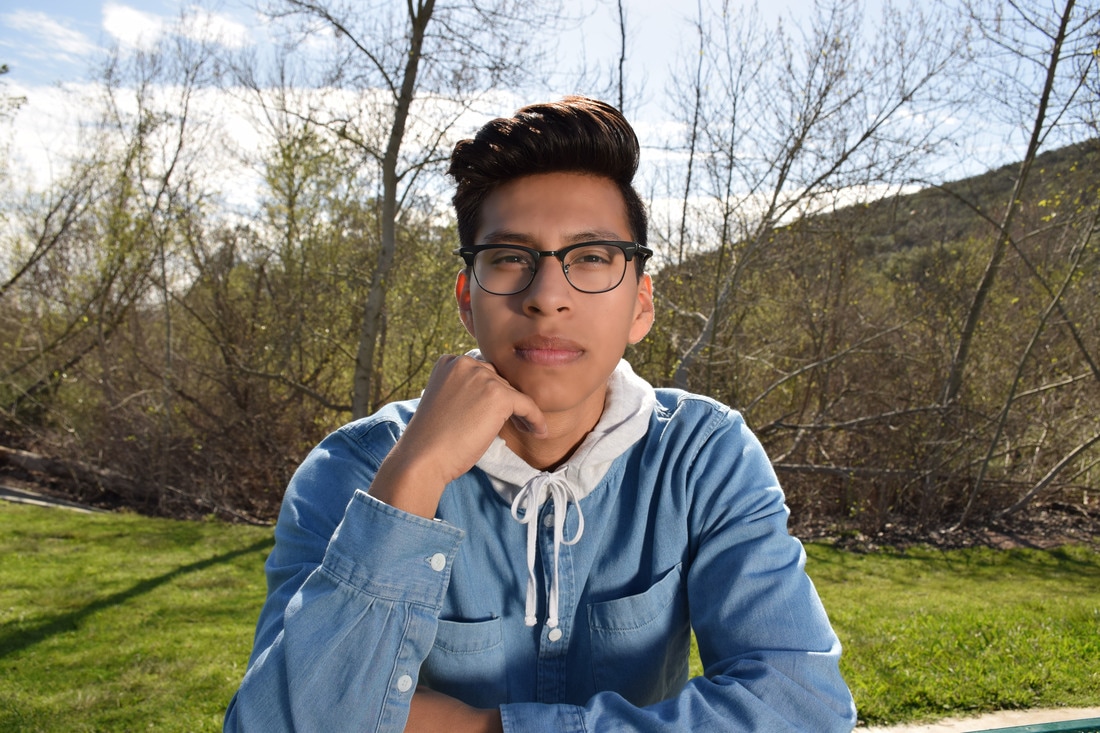 Aperture f/8, Shutter Speed 1/500th of a Second, ISO 200 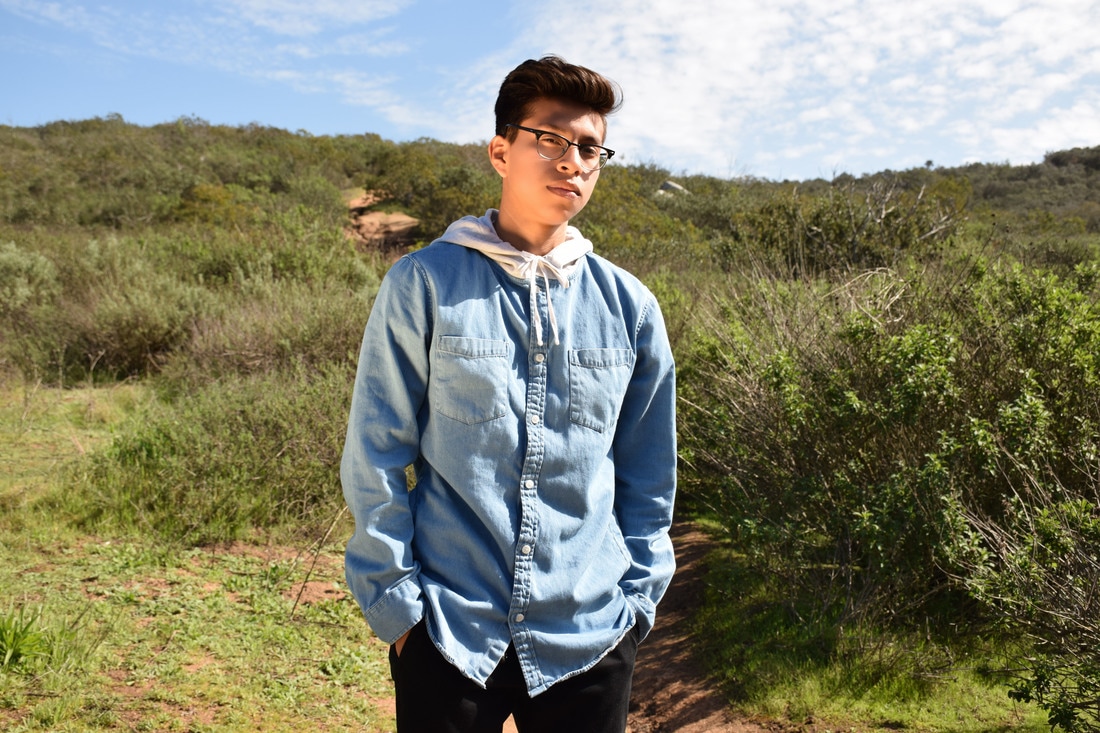 Aperture f/8, Shutter Speed 1/500th of a Second, ISO 200 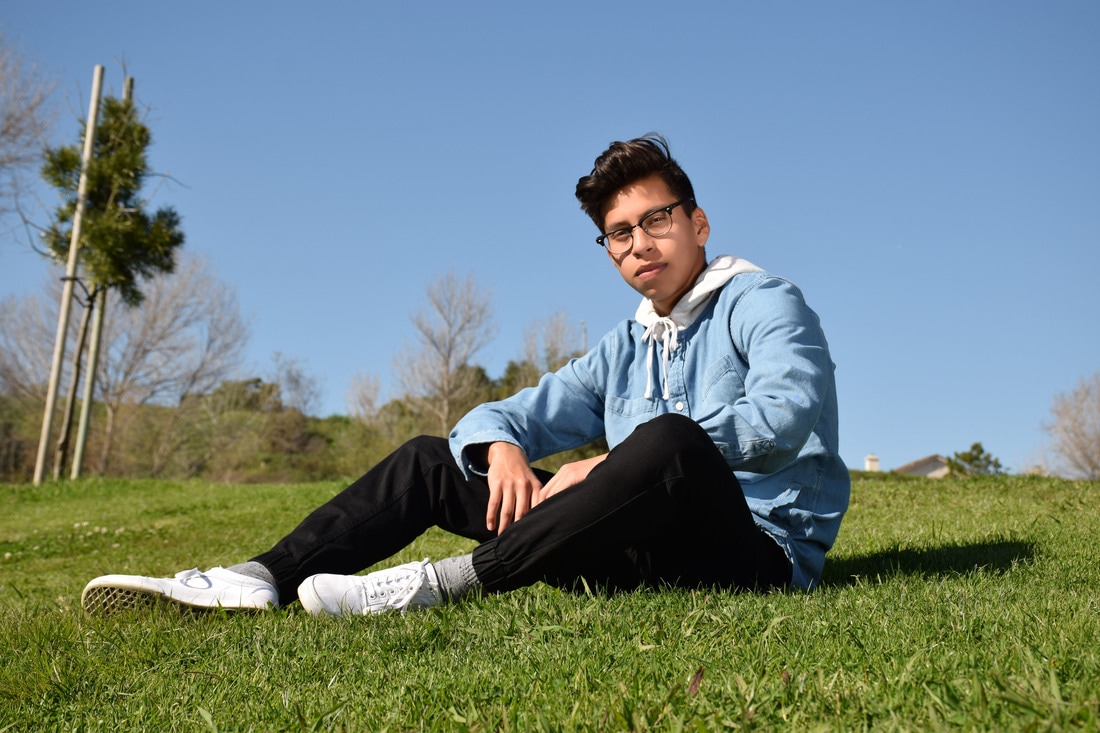 Aperture f/8, Shutter Speed 1/750th of a Second, ISO 200 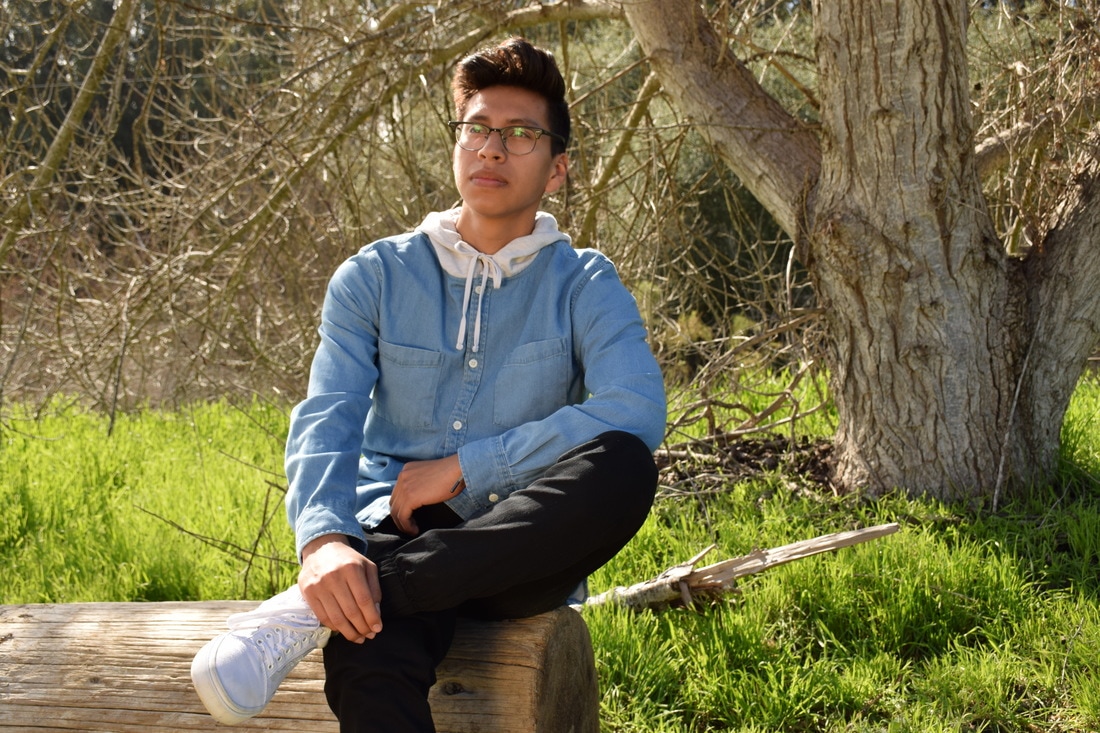 Aperture f/8, Shutter Speed 1/350th of a Second, ISO 200 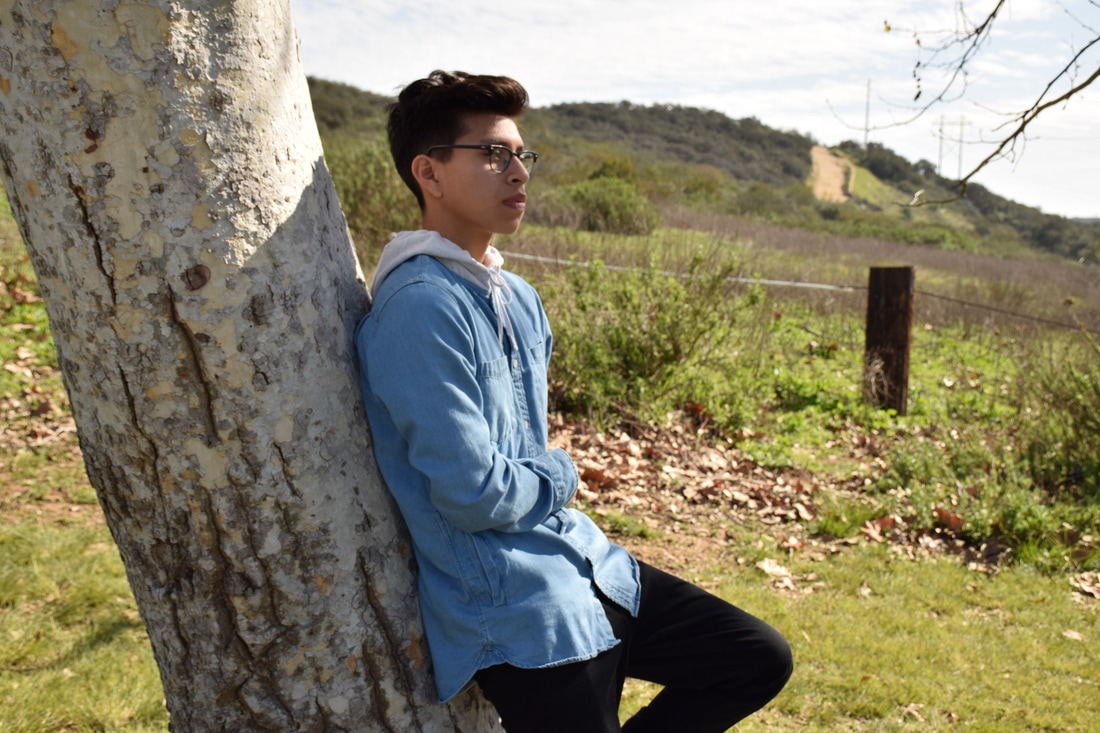 Aperture f/8, Shutter Speed 1/500th of a Second, ISO 200 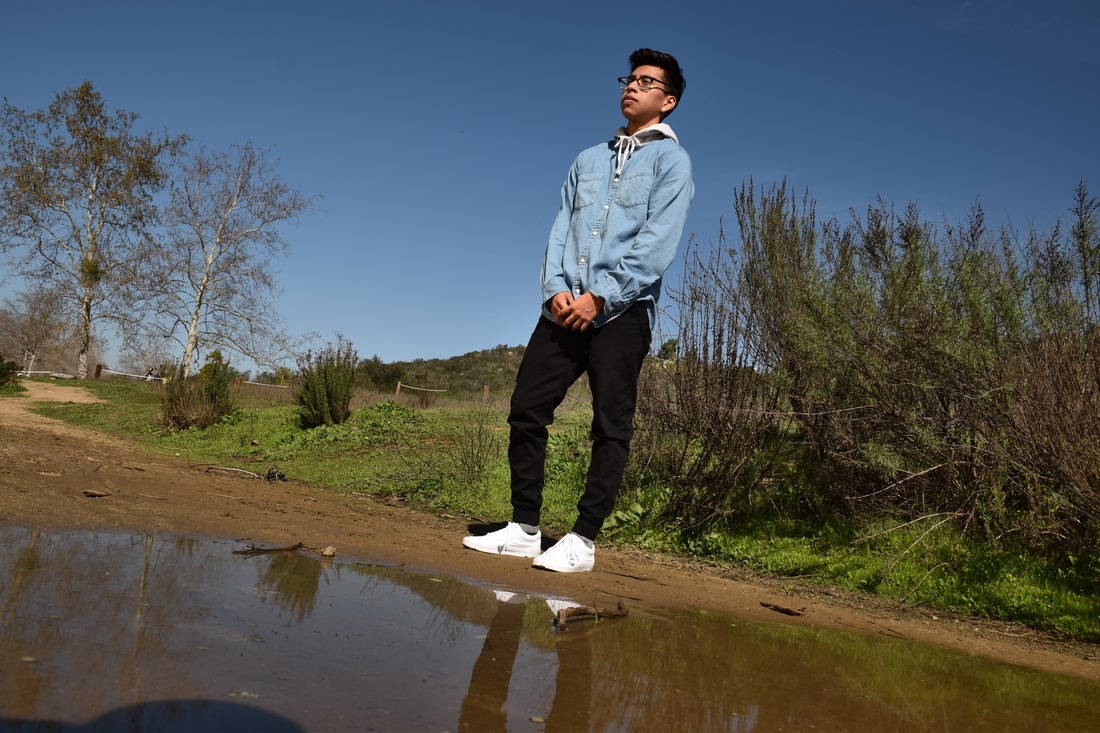 Aperture f/8, Shutter Speed 1/750th of a Second, ISO 200 I learned about portraitures is to make sure they are all focused and have a perfect background. For my poses I made sure the model wasn't focused on the camera and to make the pose natural and to relax. The reflectors were very useful it made the model stand out more adding a warmer ray of light to their skin, I made sure the reflector wasn't on them to much just adding a little light. To retouch the photos I went in to photoshop used the lasso tool and traced the face I used refine edge and made a new layer with layer mask. them I fixed it with blur, and removed the blemishes with the brush tool, and the spot healing brush tool, after I added noise to make it look natural. Positions that use portrait photography are magazines, the companies that need the photos hire them their salary is around $30,000, the average charge is about 1,500.
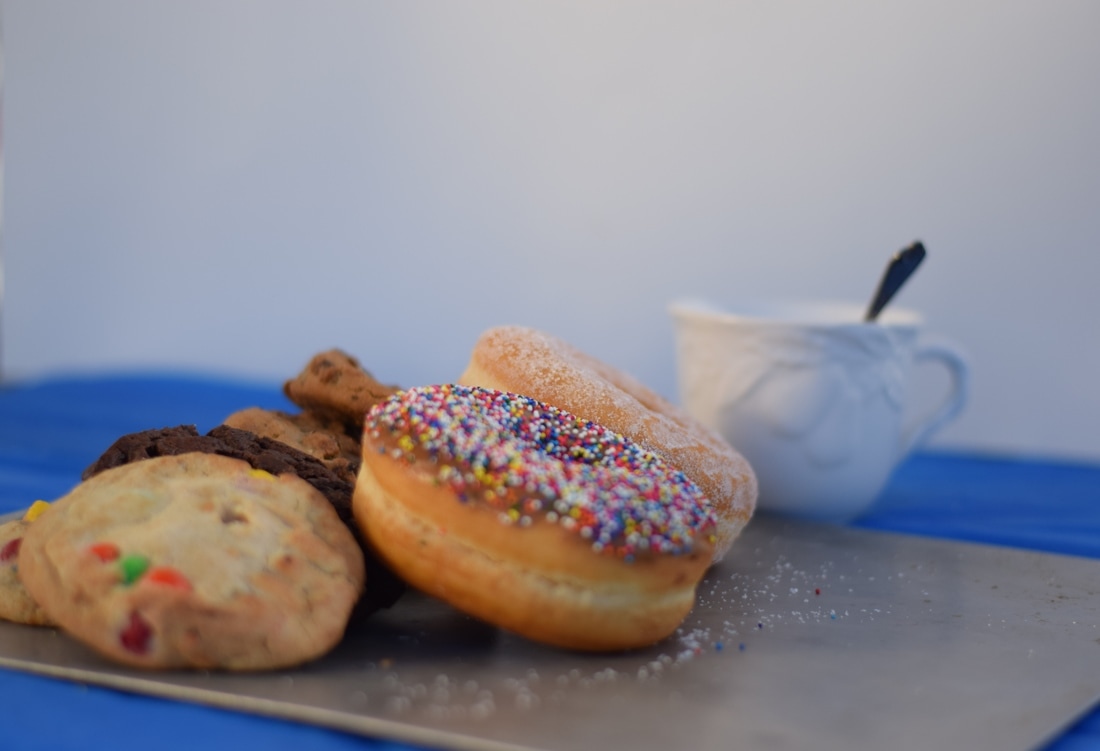 Aperture f/1.8, Shutter Speed 1/4000th of a Second, ISO 200 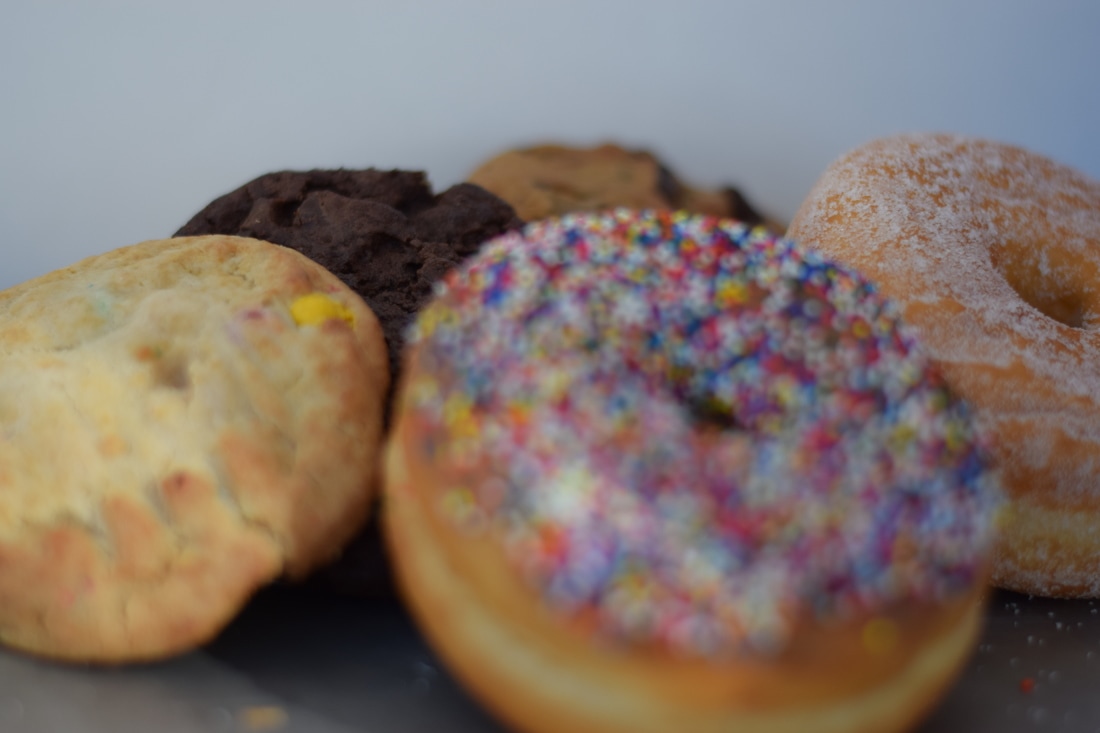 Aperture f/1.8, ISO 200, Shutter Speed 1/2000th of a Second 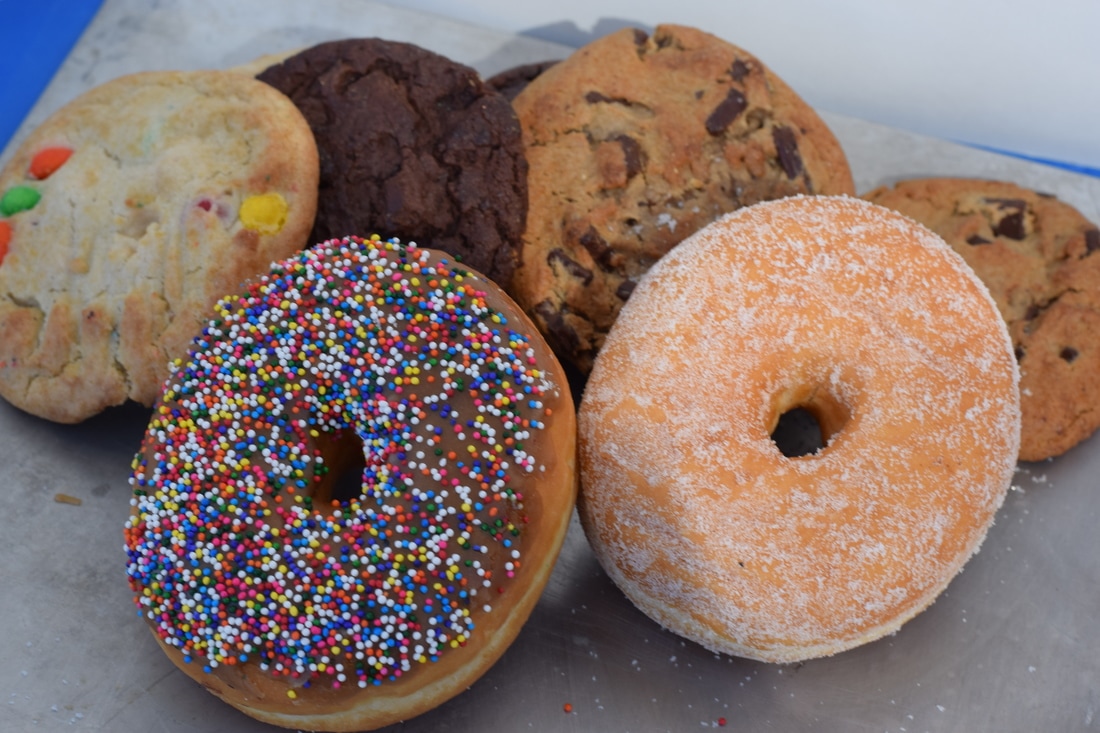 Aperture f/8, ISO 200, Shutter Speed 1/90th of a Second 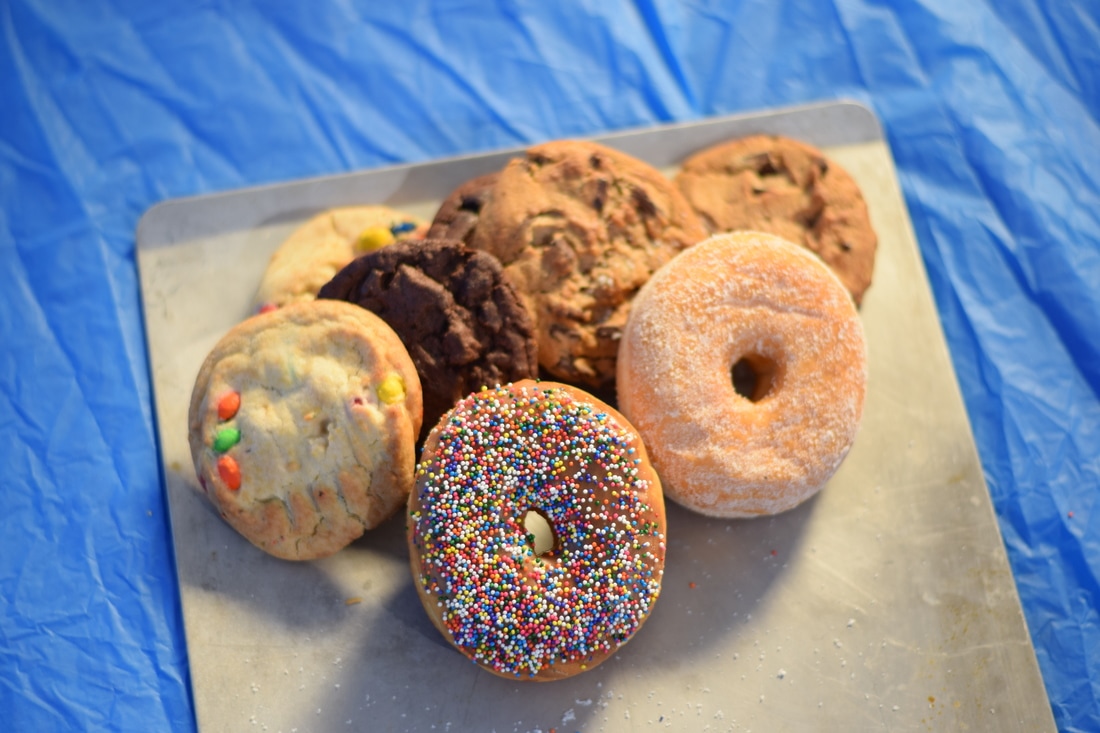 Aperture f/1.8, ISO 200, Shutter Speed 1/4000th of a Second 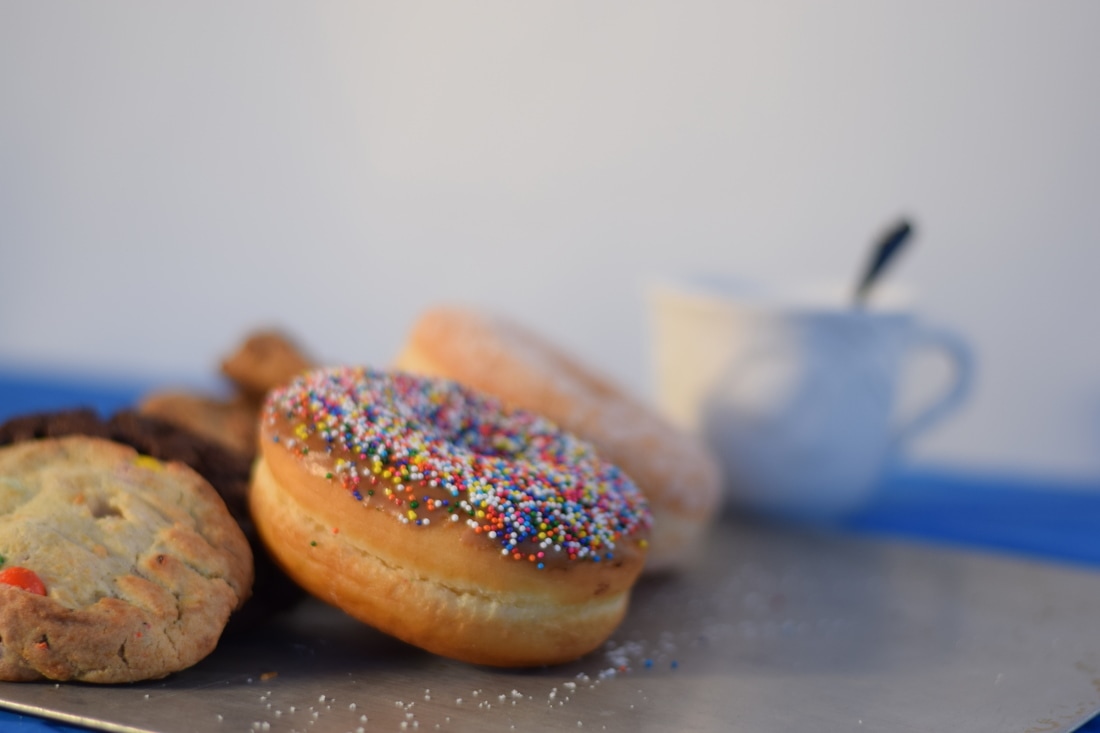 Aperture f/1.8, ISO 200, Shutter Speed 1/4000th of a Second 1. The food I brought in was donuts, to make is stand our more I put down a blue table cloth and but the donuts and cookies on a tray, after that I grabbed a mug to put it all together.
2. Five things I learned and didn't know from the video and presentation are use the best light possible, make sure the photo adds interest, style what you're working on, I did not know they used glue for taking photos of cereal and they but different things on bottles to make the look cold. 3. I made sure to put all the objects perfect and have the best lighting to try to mimic the photographer. 4. Three things I learned are to not randomly place objects, to make sure I am close to the thing I am taking a picture of, to not have anything in the background white or black for background use. 5. Some businesses that use food photography are McDonalds and other fast food restaurants. 6. I was successful in making it all seem natural, I would definitely do this again maybe on my free time. 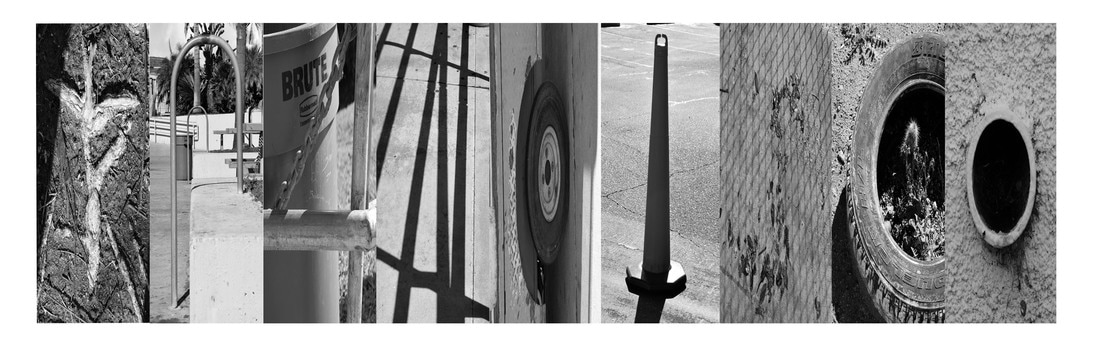 To make this, first I dragged the black and white photos from iPhoto to photoshop once I did that I went to each image and cropped out things around I didn't need. After cropping all the photos I dragged them one at a time to making sure they line up to the ruler marks and keeping them all the same size. I struggled the most in redoing the ruler marks to add another line and making sure they were all the same size, another challenge was looking for objects to pictures of, looking for certain letters was difficult. I was happy I finally made all the ruler marks the same size and finding shapes of things around me that look like the letters I need. The best thing I like about my artwork is the creative things I found around me. Things I could have improved on are trying to take pictures of things that resemble letters more.
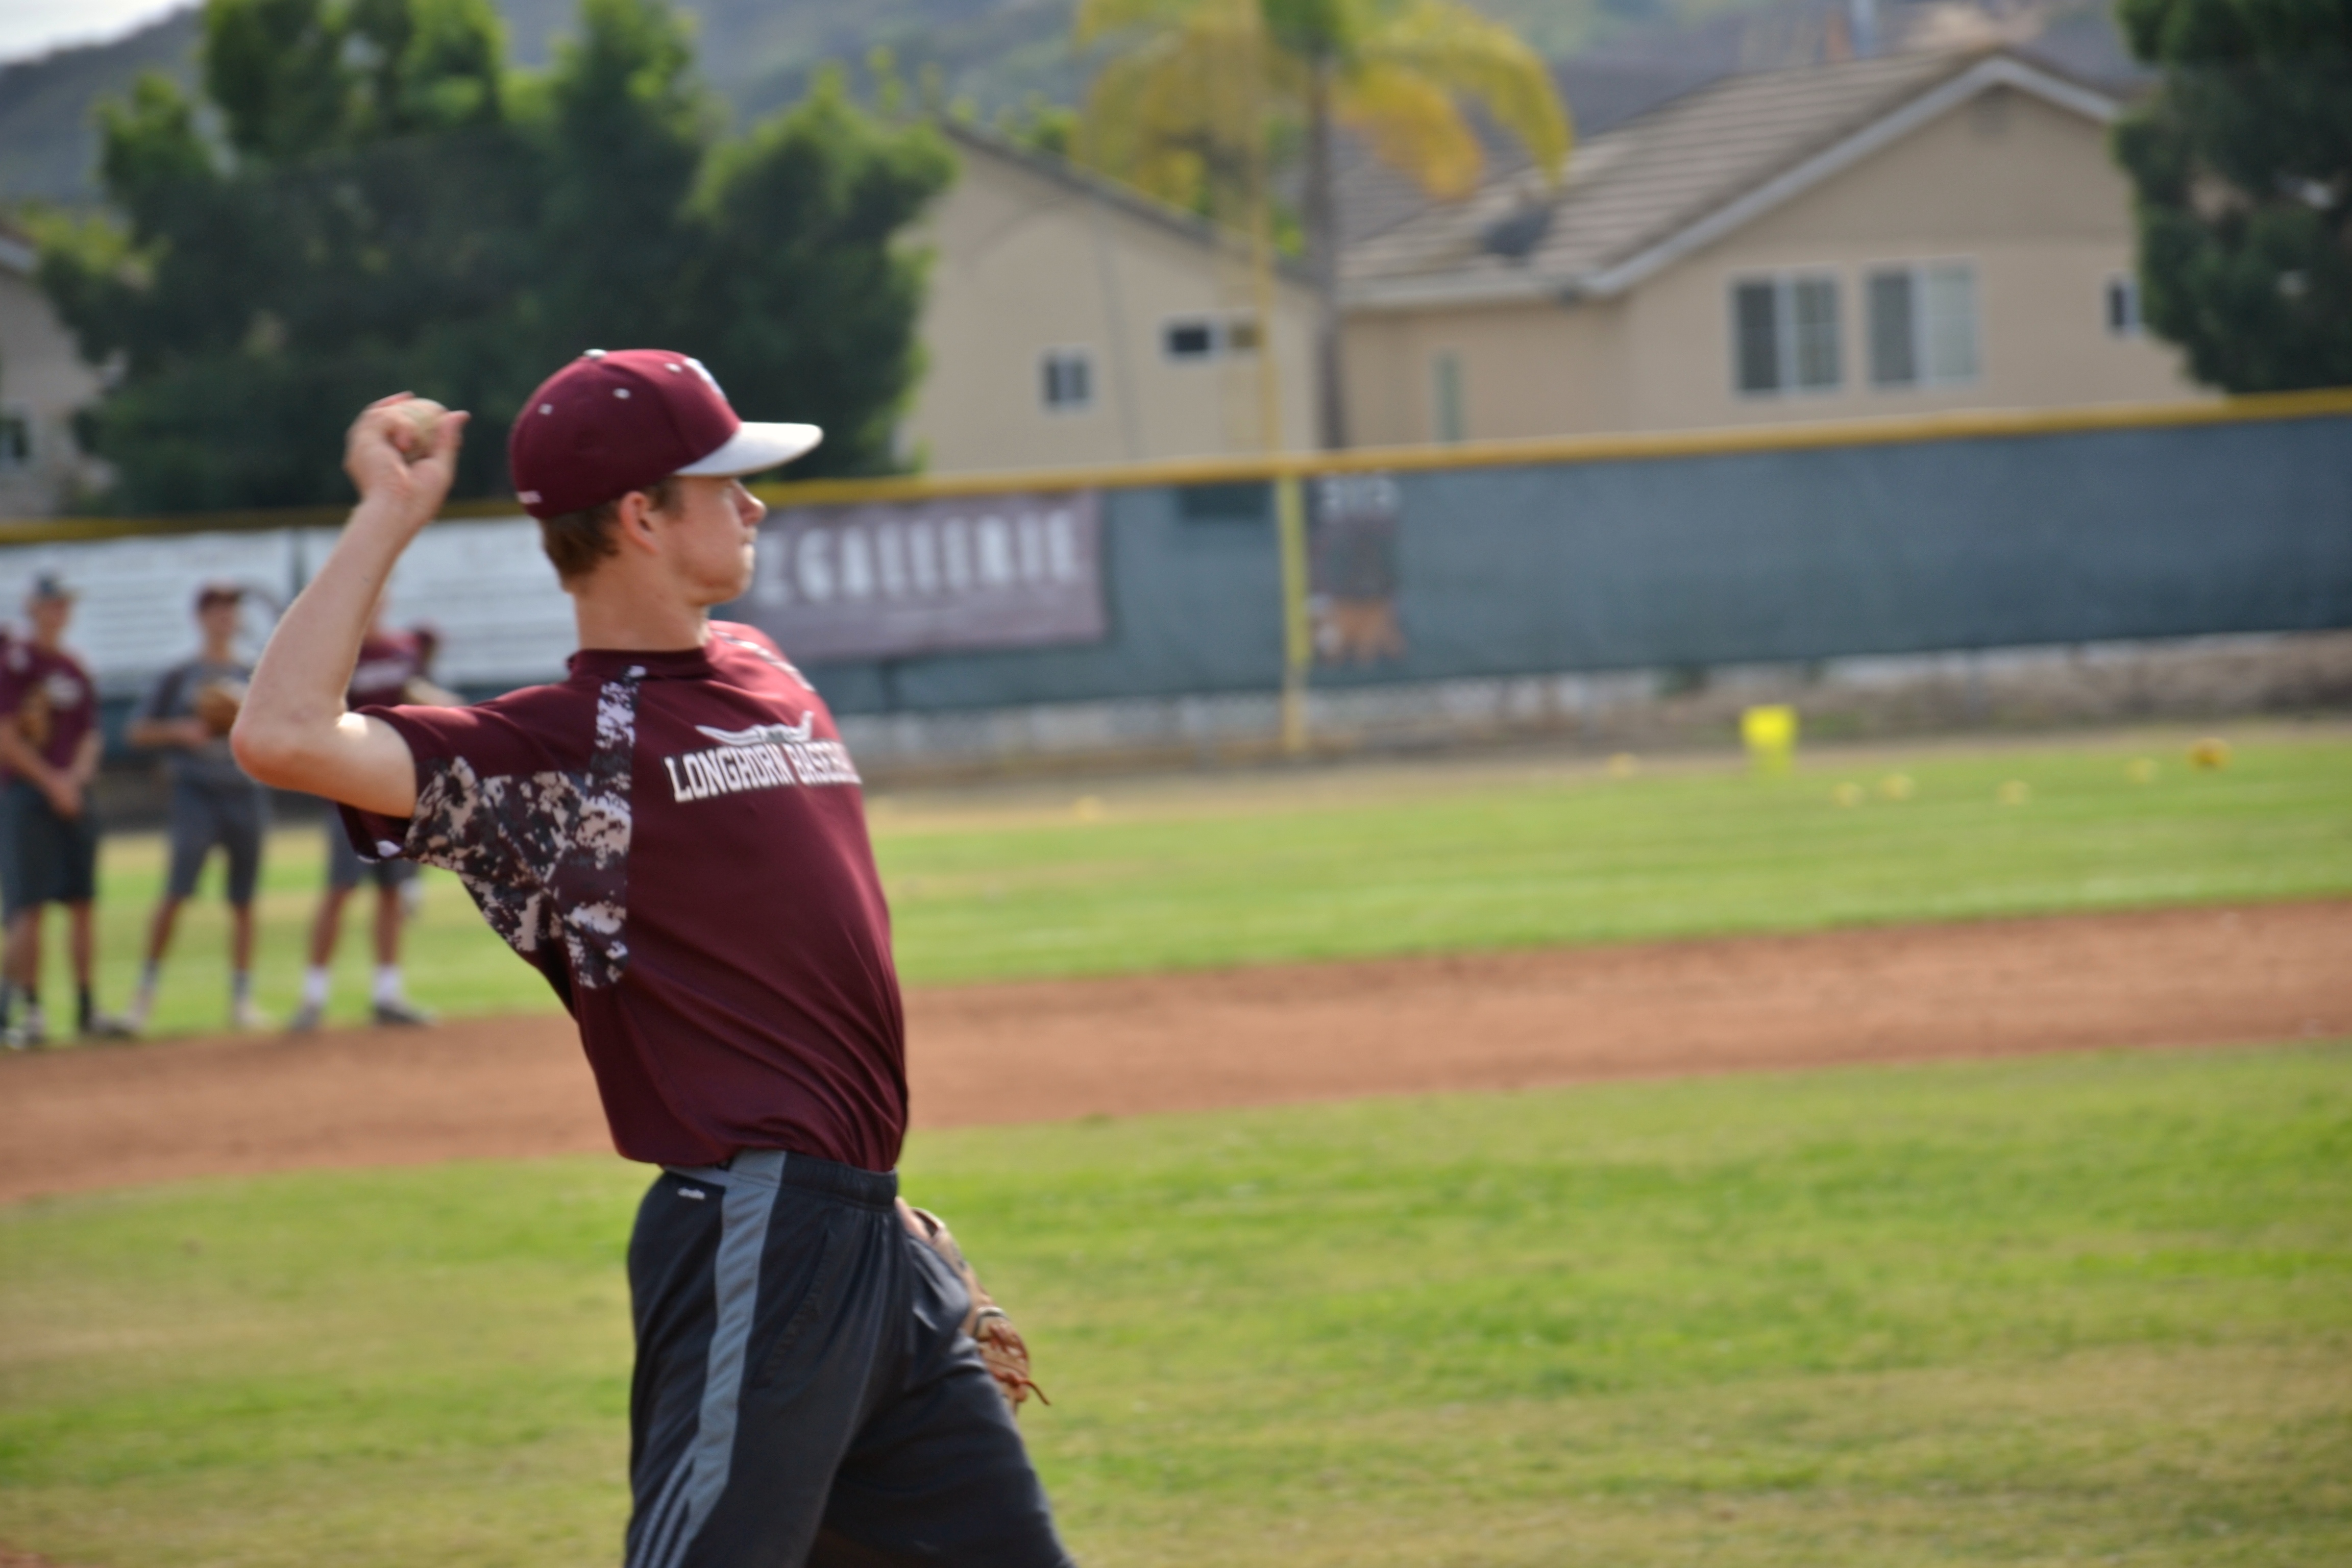
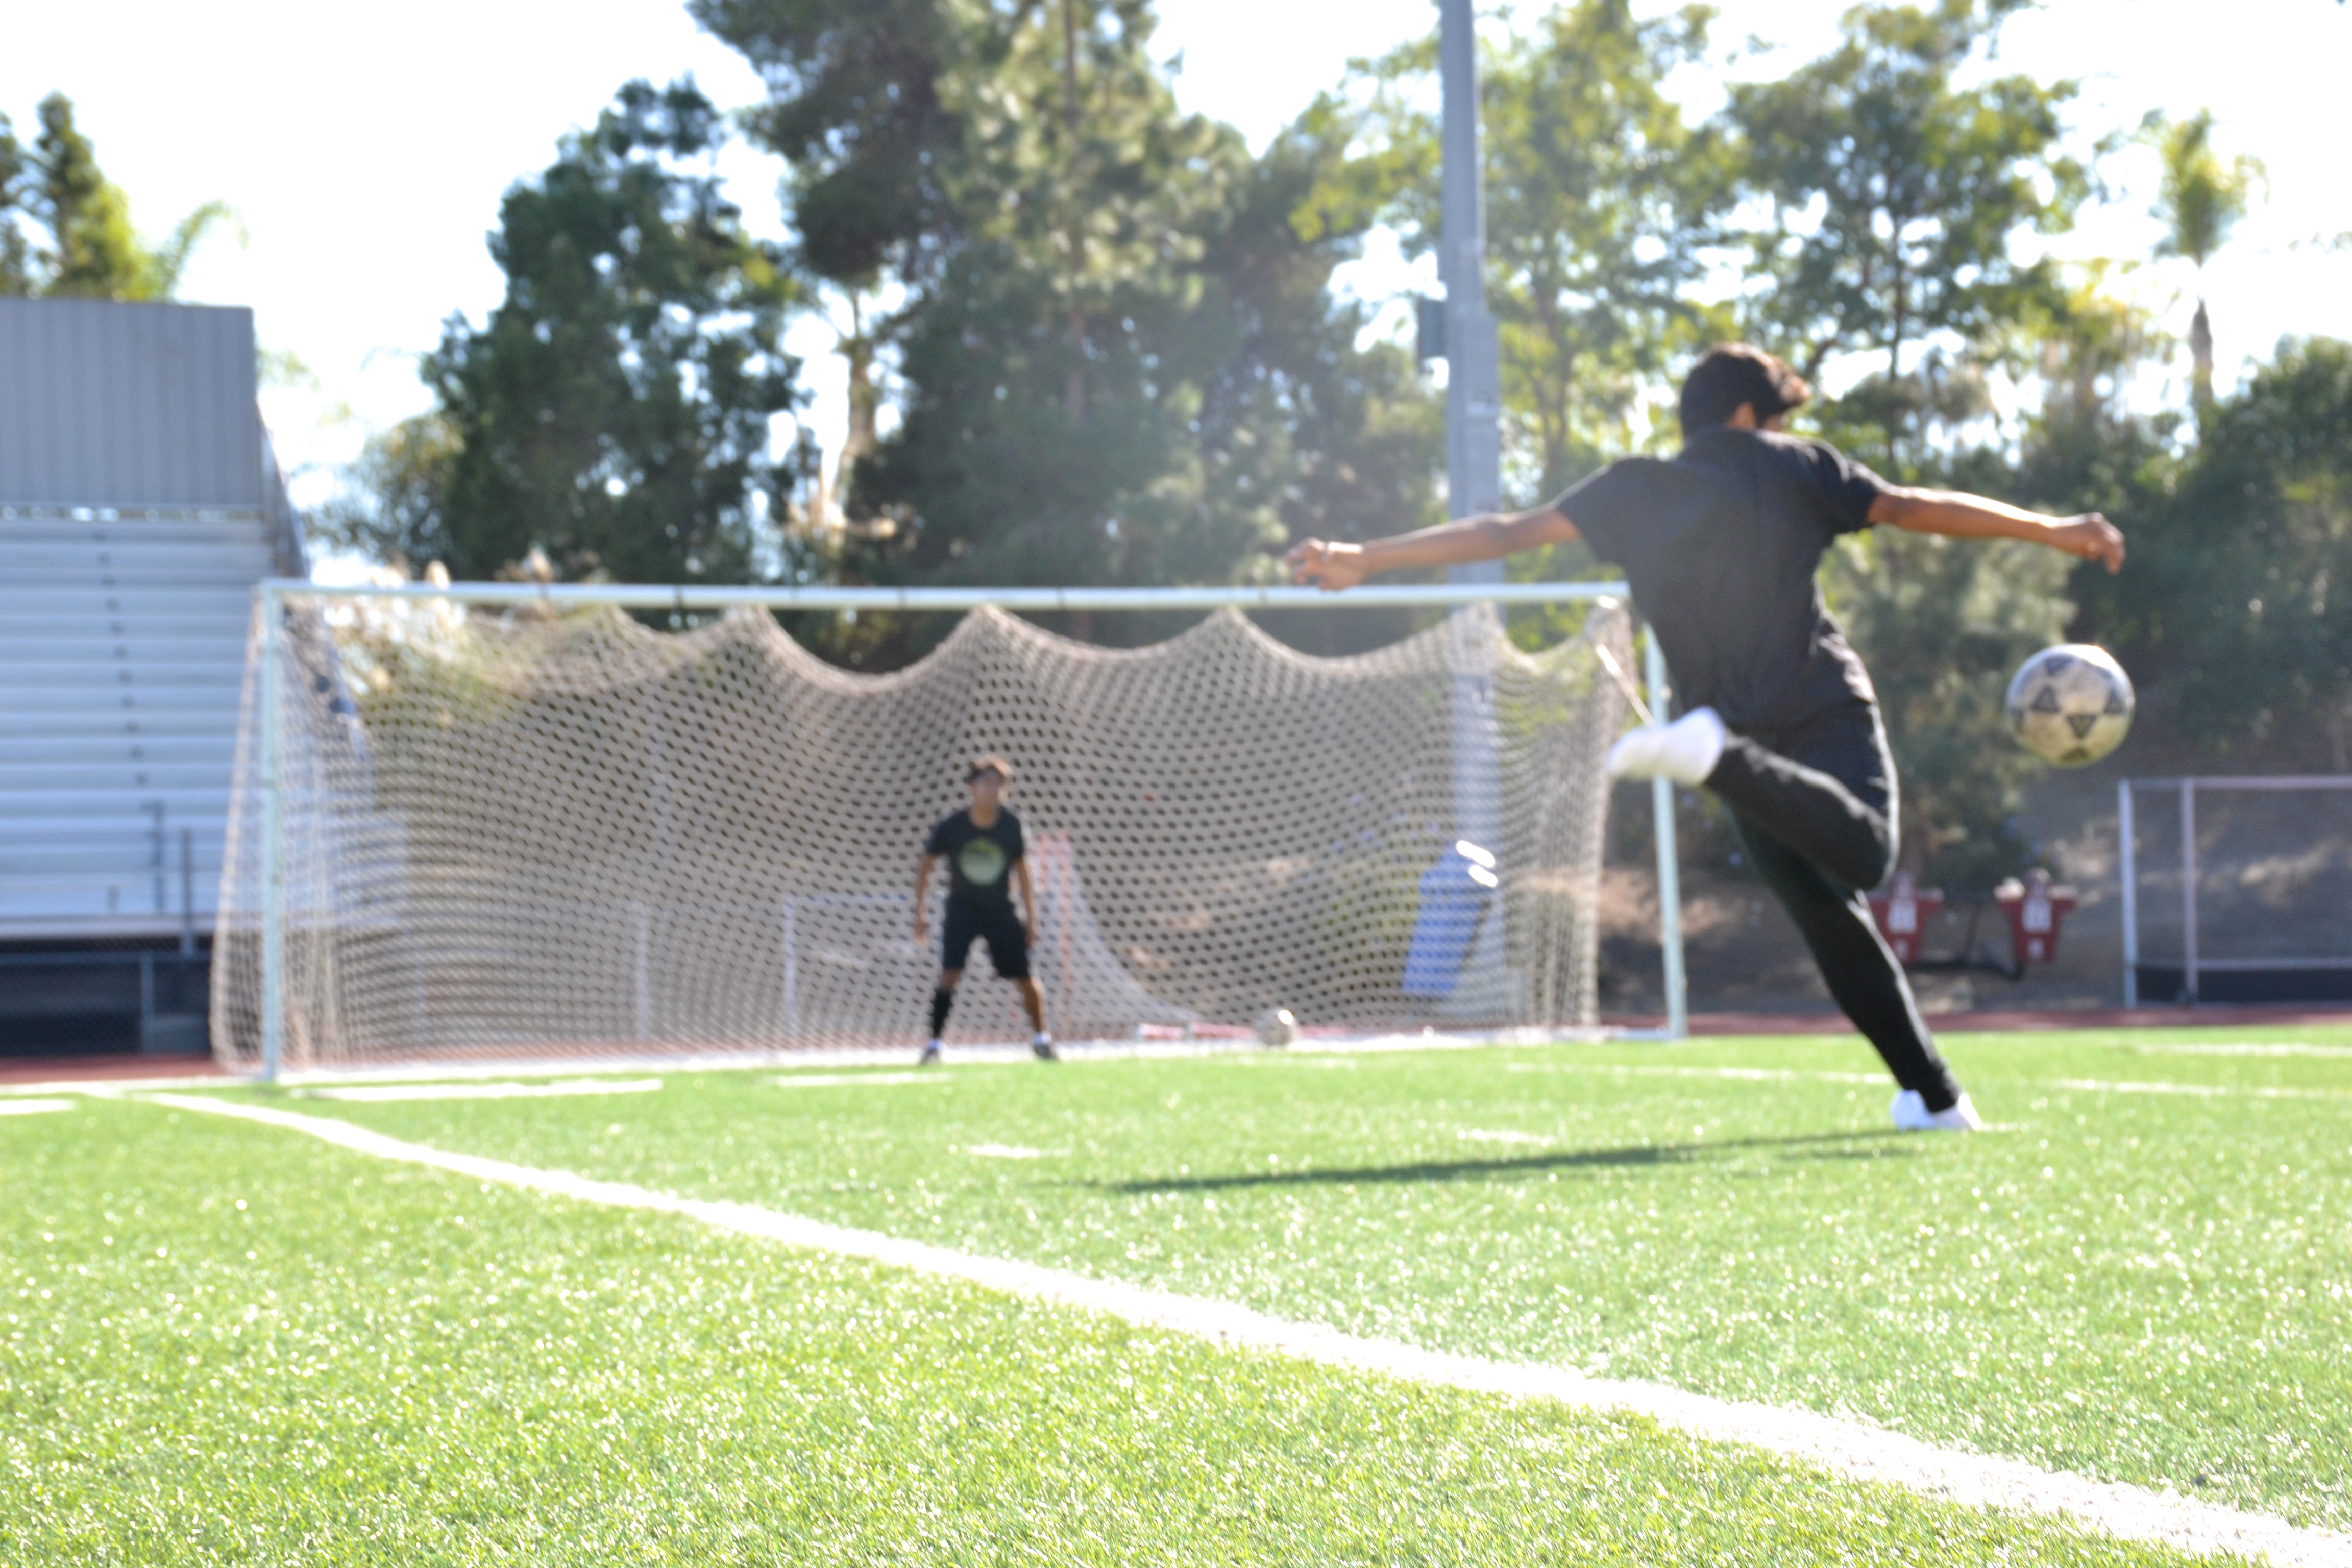
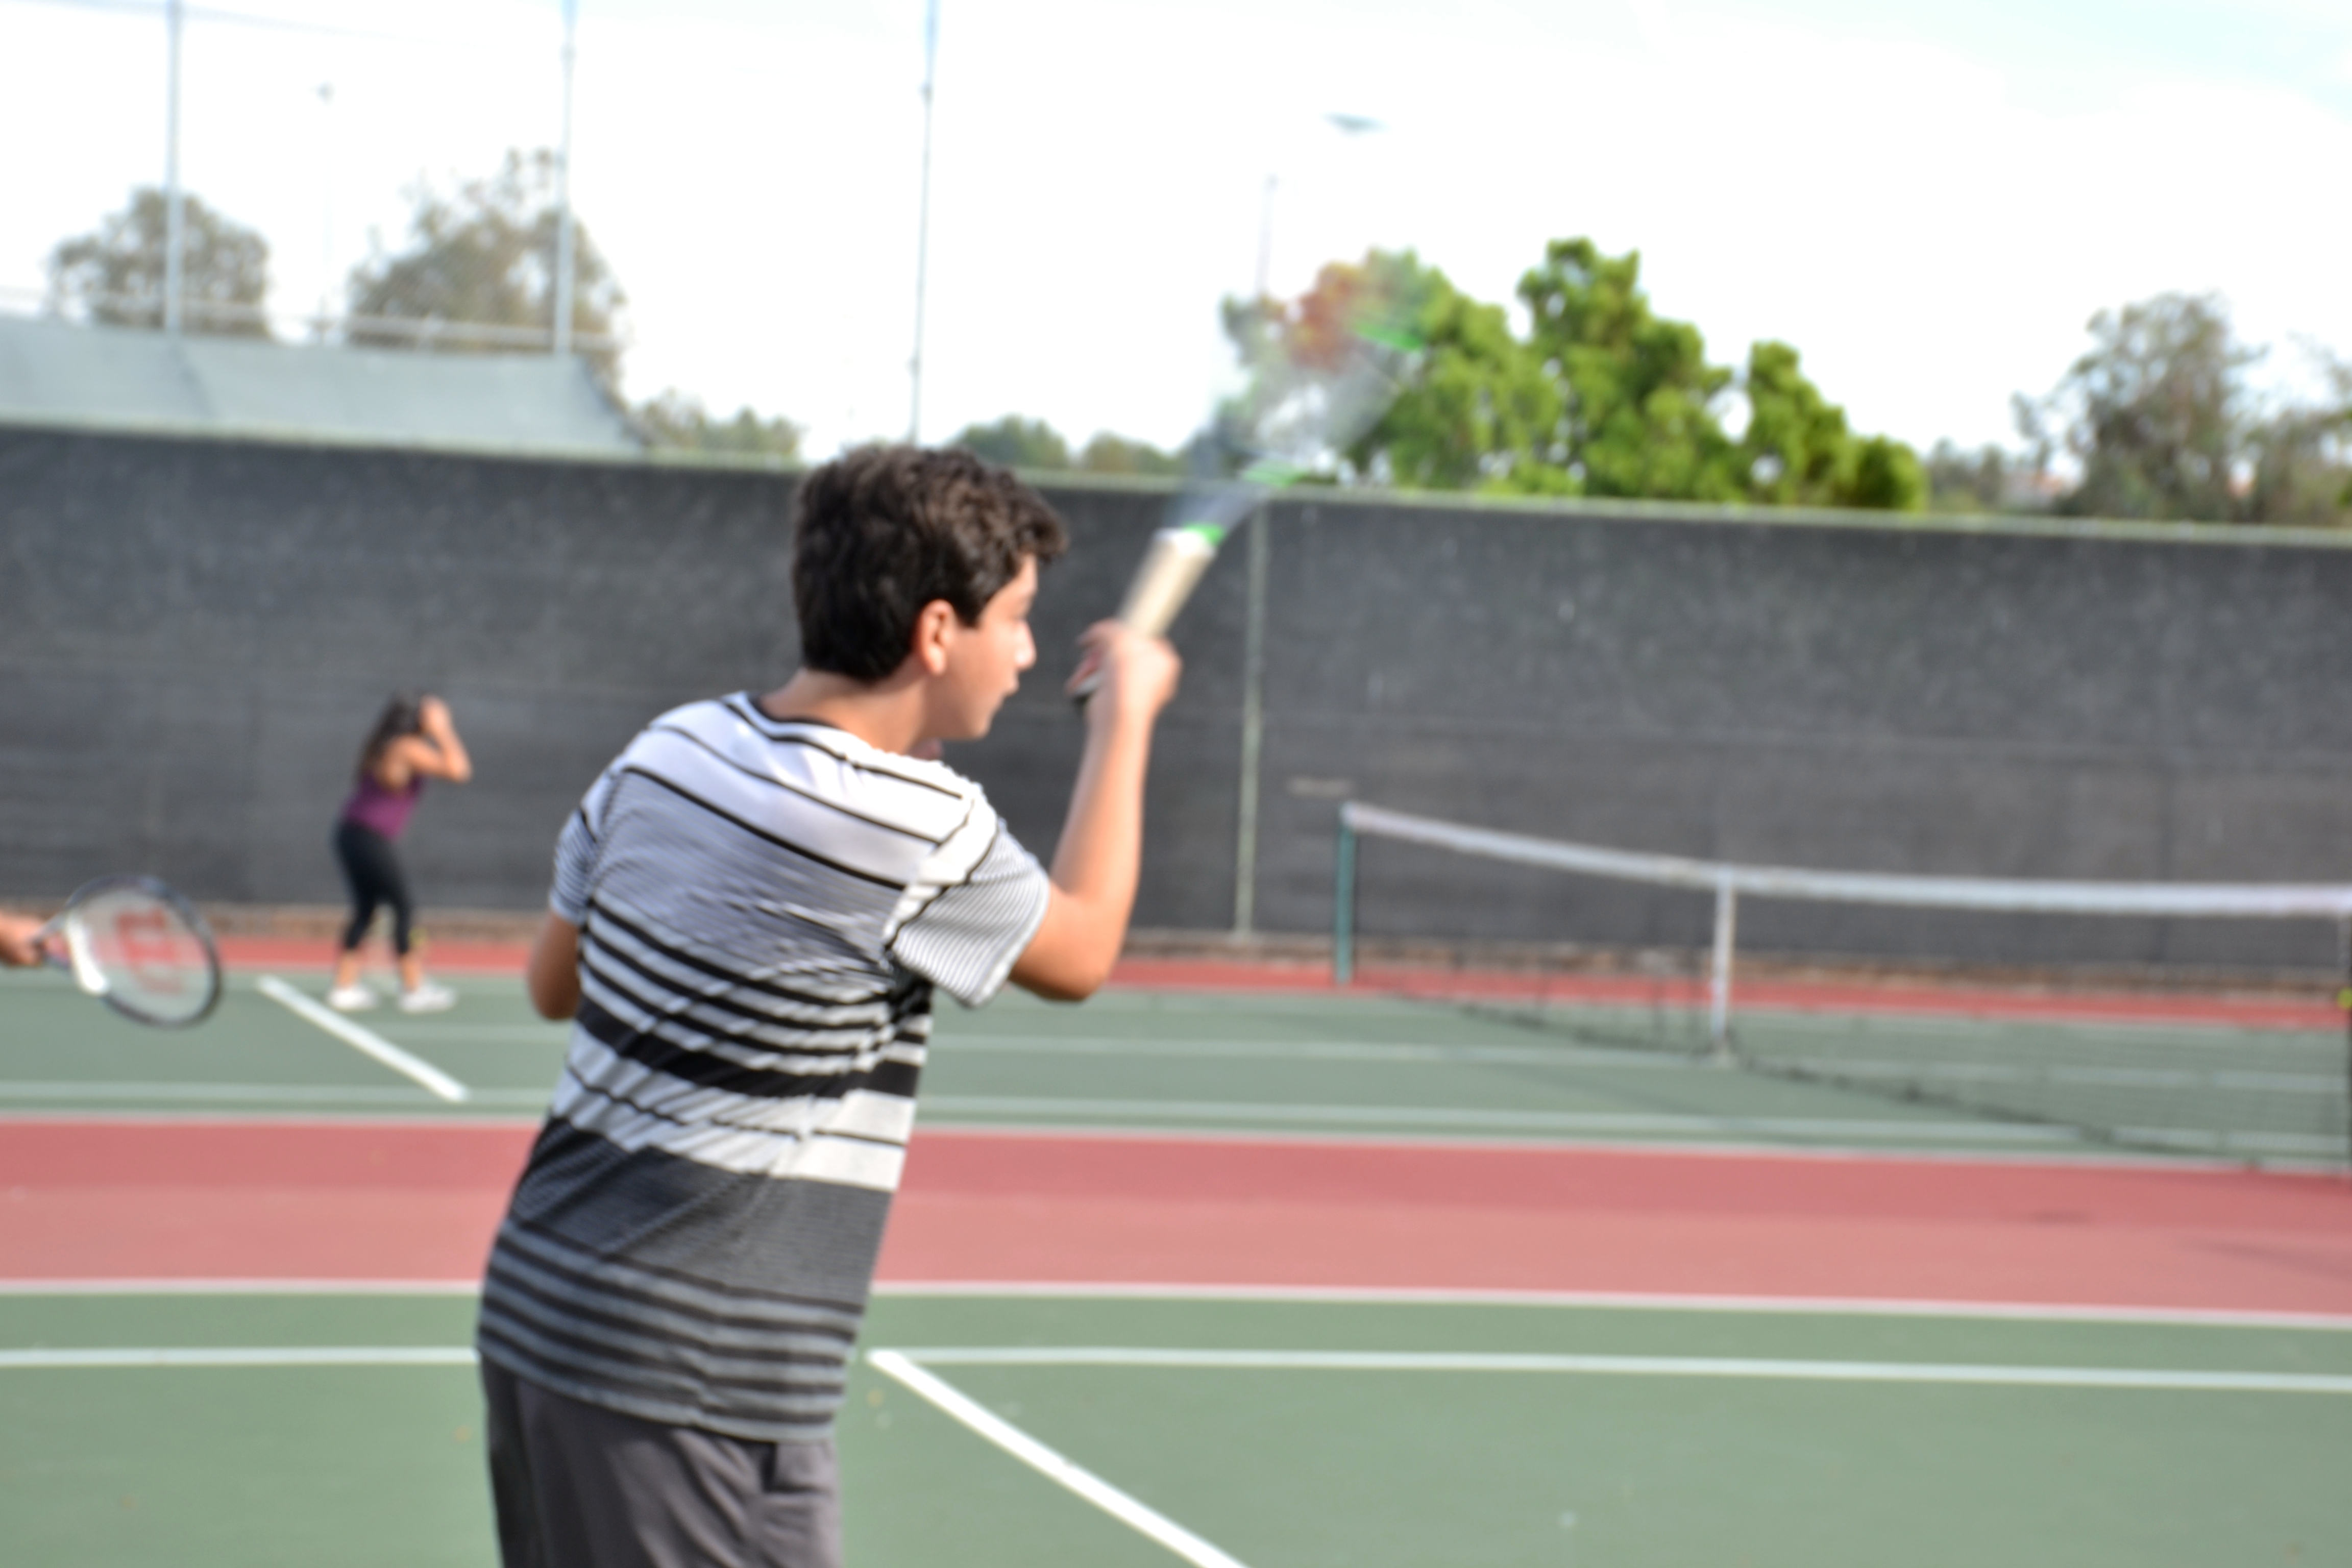
 Aperture f/1.8, Shutter Speed 1/1500th of a Second, ISO 640  Aperture f/8, Shutter Speed 1/60th of a Second, ISO 640  Aperture f/8, Shutter Speed 1/20th of a Second, ISO 640  Aperture f/8, Shutter Speed 1/90th of a Second, ISO 640  Aperture f/8, Shutter Speed 1/180th of a Second, ISO 640 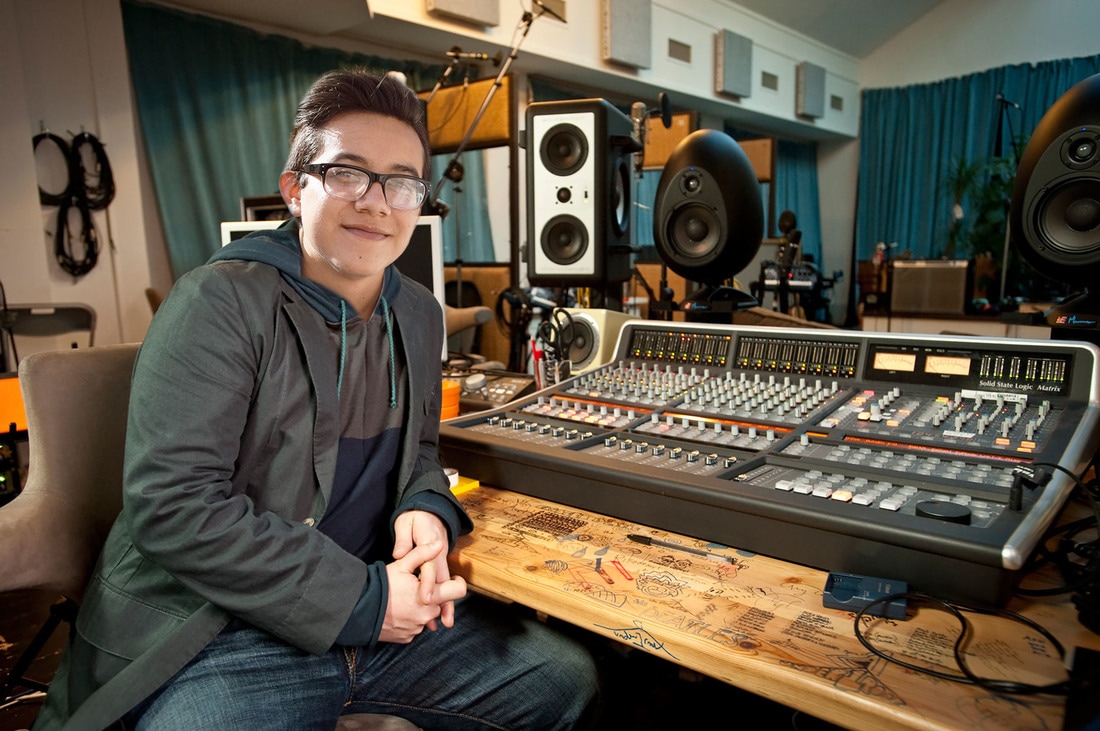 In this photo you can see as a music producer, what a producer does he basically is in charge of a whole record company, he makes music and handles everything outside of music like the money and scheduling times in a studio. The ideal day for a producer would be waking up and just going to the studio however long you need to be there. You don't need to be there all the time so you can stay home or go anywhere and work off you're laptop or computer. 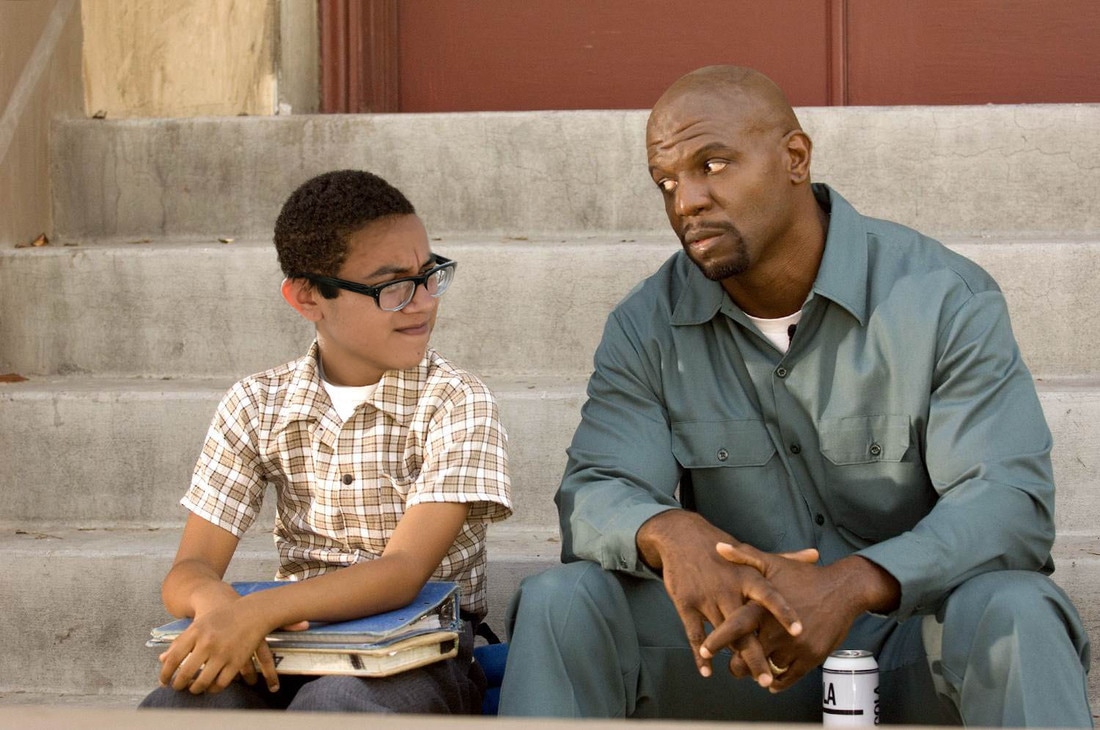 The celebrity I'm with in this picture is Terry Crews, I chose him because I think he is really funny and a good actor he reminds me and others to control your money and not to spend it. The steps I did to make this was first I got the image an image off a google (made sure it was a large size), then I dragged it into photoshop making it a bit smaller and putting the resolution to 300. Next I dragged a photo of me into photoshop as well. I used the lasso tool to cut my face out and drag it to the image from google, I matched my face on top of the other persons face then made a layer mask of my face. after that I used the paintbrush tool to erase everything I didn't need around my face. After I changed the brightness and contrast and changed the color balance.
To photograph the moon:
1. Use a tripod! A flat surface will only allow you to shoot straight, and shooting the moon means that you'll be shooting up and constantly re-adjusting the tripod as the moon moves throughout the night. 2. Use a shutter release cord, remote or the camera's self timer if you don't have one, so that you don't move the camera when pressing the shutter release during a long exposure. 3. Use a zoom lens and zoom in as much as you can to the moon. It's okay if it's not a super fancy lens, this was shot using a 15 year old $100 lens. Focus in on the craters and details on the moon. 4. ISO 1250- 1600, so that you can use as fast a shutter speed as you can without losing detail-the longer the shutter speed, the more chances you have the camera will shake even slightly in the wind, resulting in an out of focus photograph. 5. Aperture priority of f/5.6 since you are not worried about capturing any details other then the moon. 6. Bracket your exposure, meaning over expose and underexpose the photograph from what the camera is telling you. Generally the camera will overexpose the moon, so you'll get nothing but a white blob in the sky. Use the exposure compensation button (the +/- button below the shutter release) and change the exposure to -0.5, then -1.0, then -1.5 and so on, until you start seeing detail in the moon. You may go as far as -5.0 exposure compensation to get what you need. 7. Take a fair amount of photos and keep refocusing as the night progresses. The photographs may look focused on the camera's display, but you won't really see if they're completely in focus until you upload them onto your computer screen. 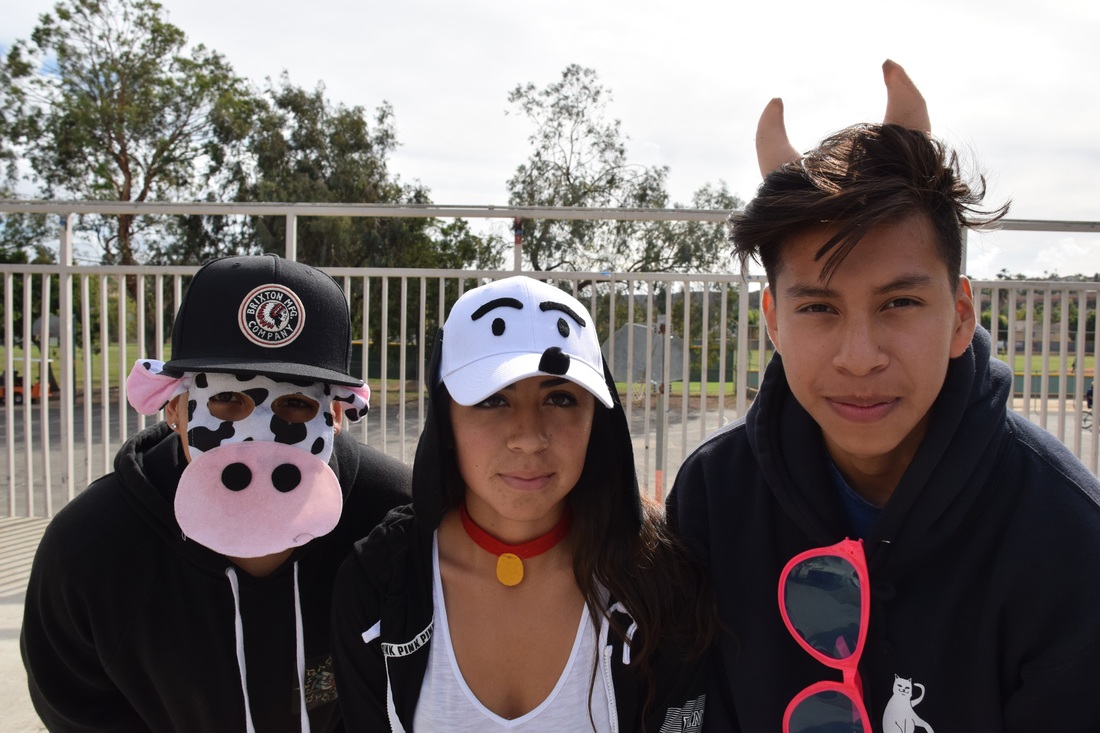 Aperture f/8, ISO 400, Shutter Speed 1/1000th 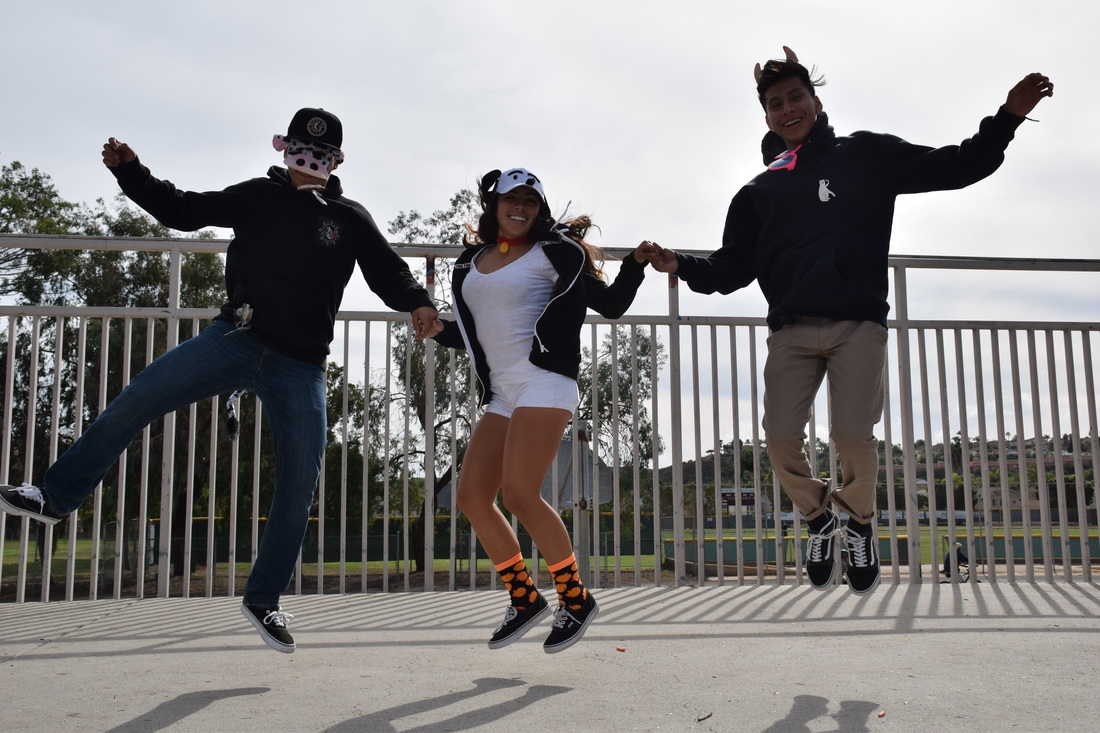 Aperture f/8, ISO 400, Shutter Speed 1/2000th |
AuthorWrite something about yourself. No need to be fancy, just an overview. Archives
May 2017
Categories |
 RSS Feed
